From PNG or JPG
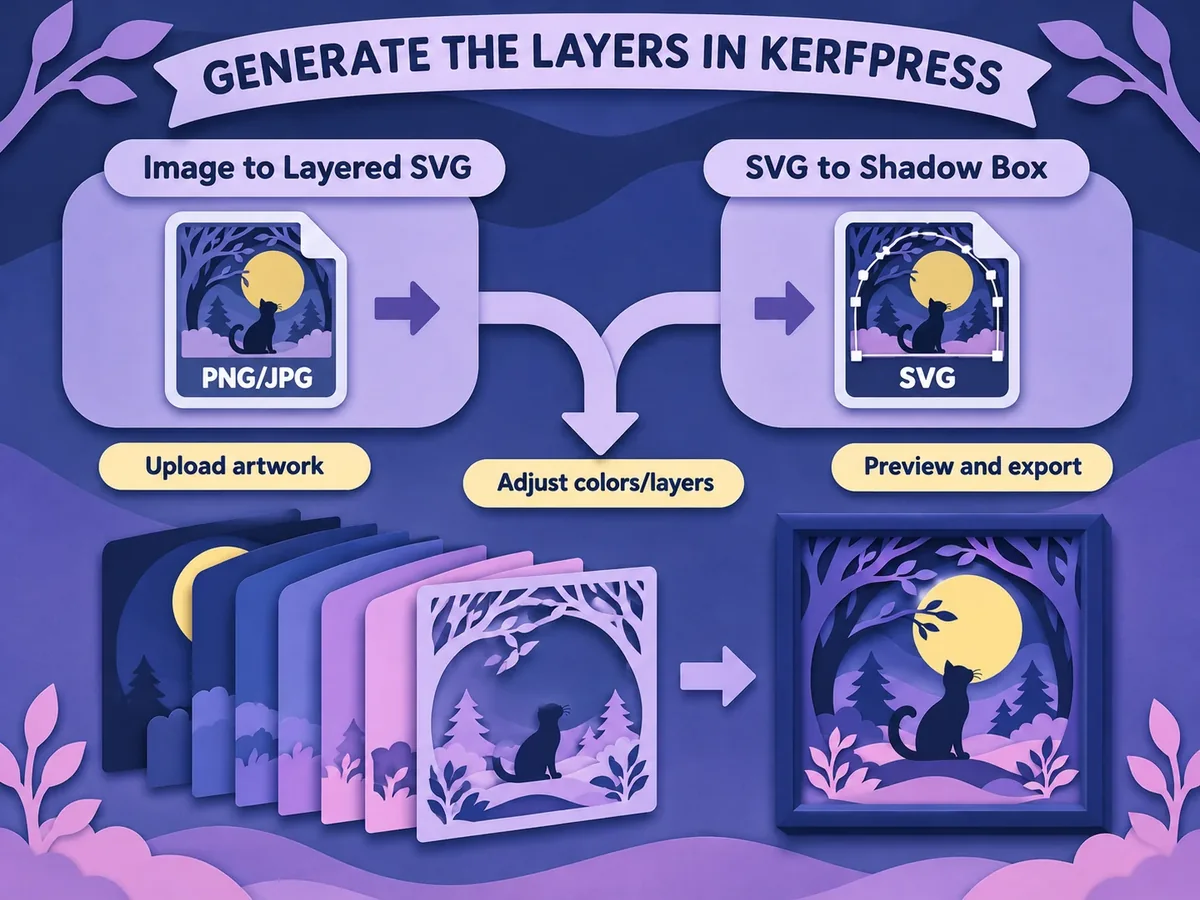
Open Image to Layered SVG, upload the image, and experiment with color count and detail settings. Flat illustrations often work well with color clustering. Preview the result before committing to a download.
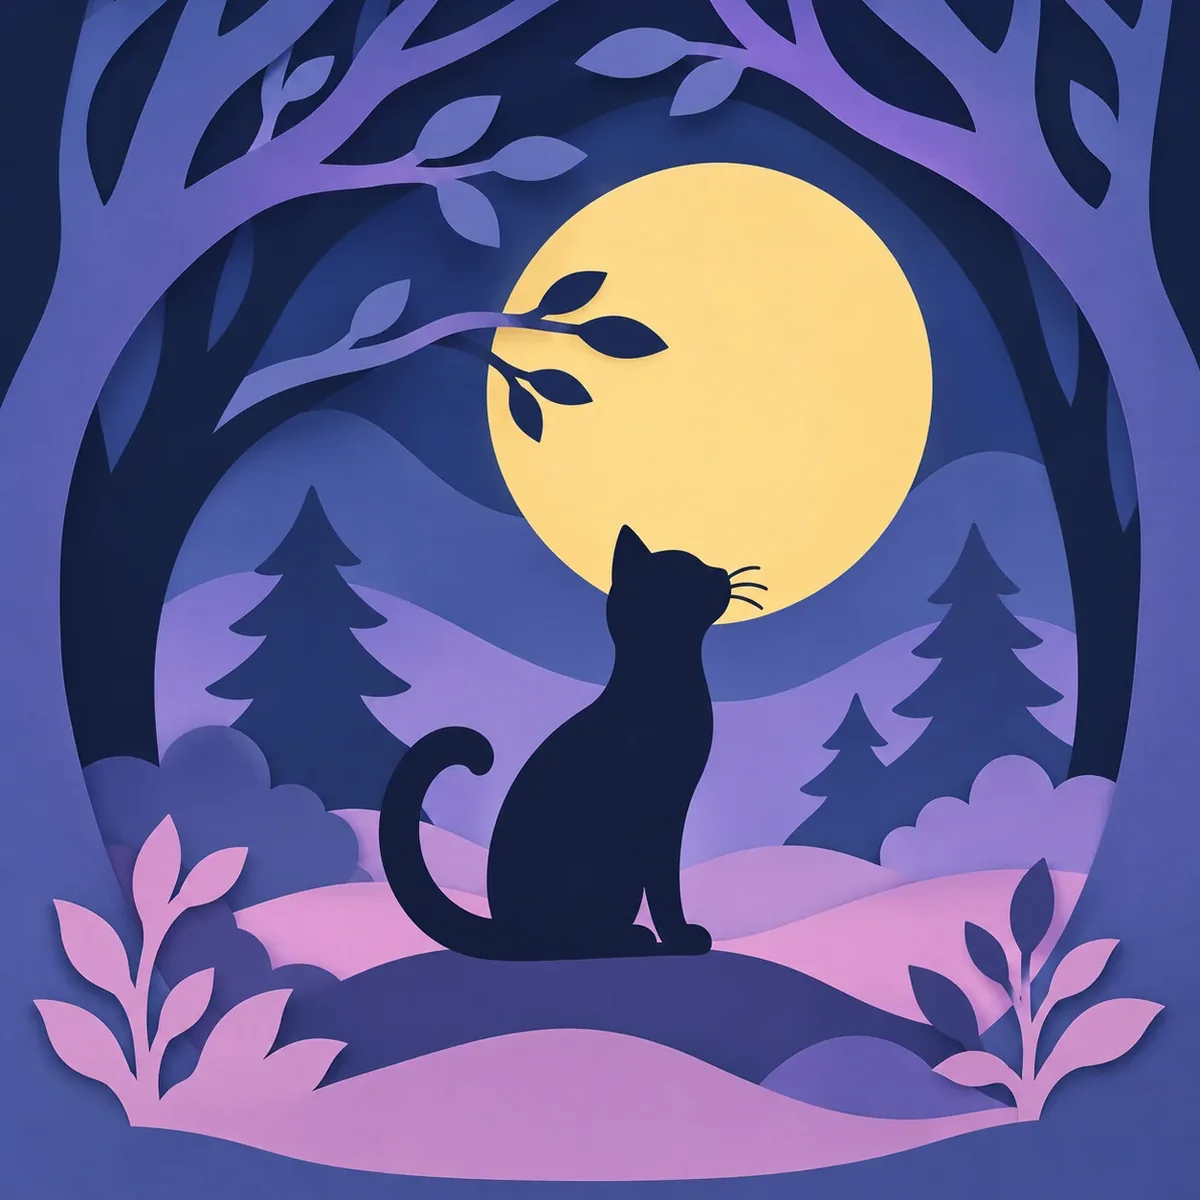
From a sketchbook doodle or Procreate illustration to a vector SVG: learn how to design artwork that works in paper, prepare your file, and turn it into layered cutting sheets.
The guiding idea: design for layers before you generate layers.
A paper shadow box creates depth using separate cardstock sheets. Large shapes, strong silhouettes, and distinct color regions are usually easier to turn into clean, cuttable layers than soft shading or hundreds of tiny details.
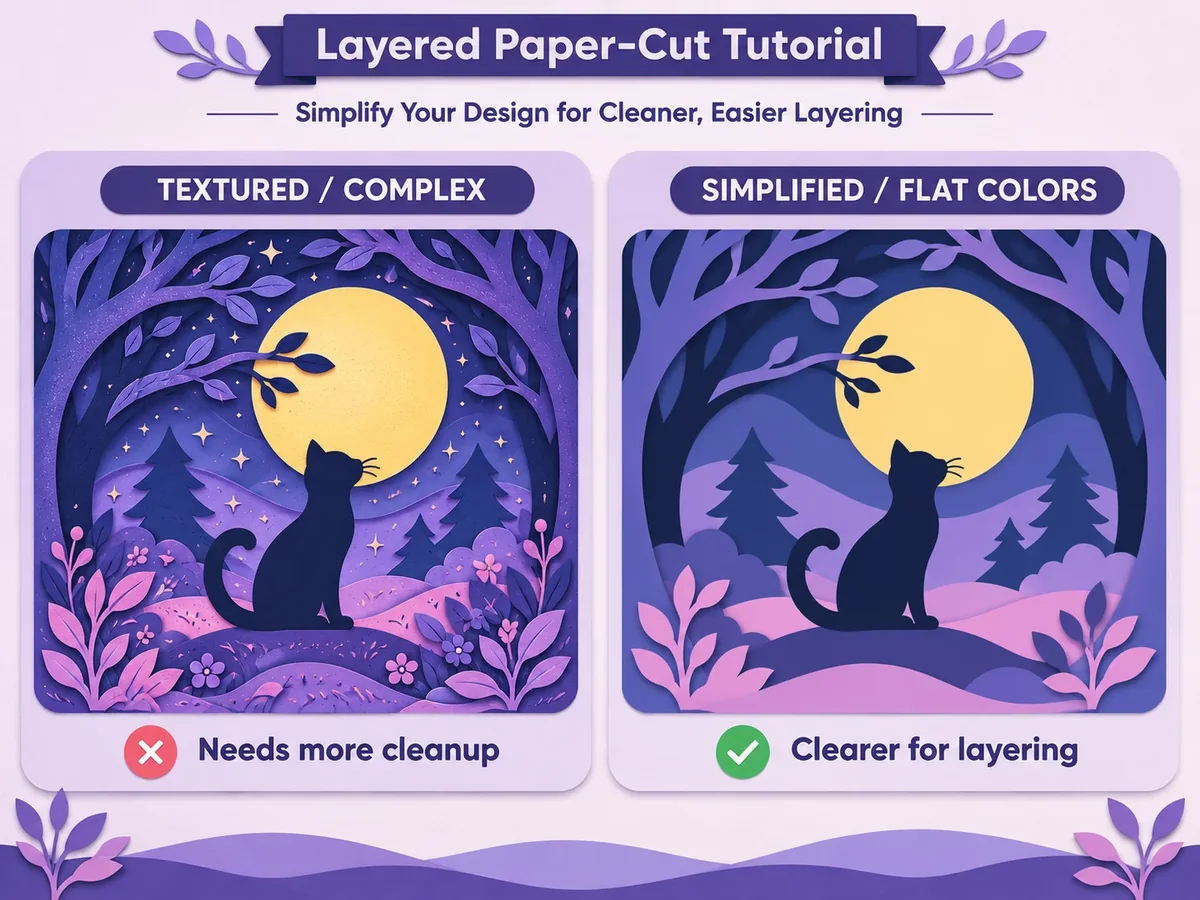
Flat animal portraits, simple landscapes, bold botanical art, and geometric designs are good starting points. Pencil sketches, watercolors, and textured paintings can work too, but may need simplification first. The goal is not to make every drawing look identical: it is to preserve what makes your artwork recognizable while reducing what paper cannot reproduce easily.
Before generating anything, decide what a viewer should see first, which objects belong behind it, and which parts need to be visible as cut edges.
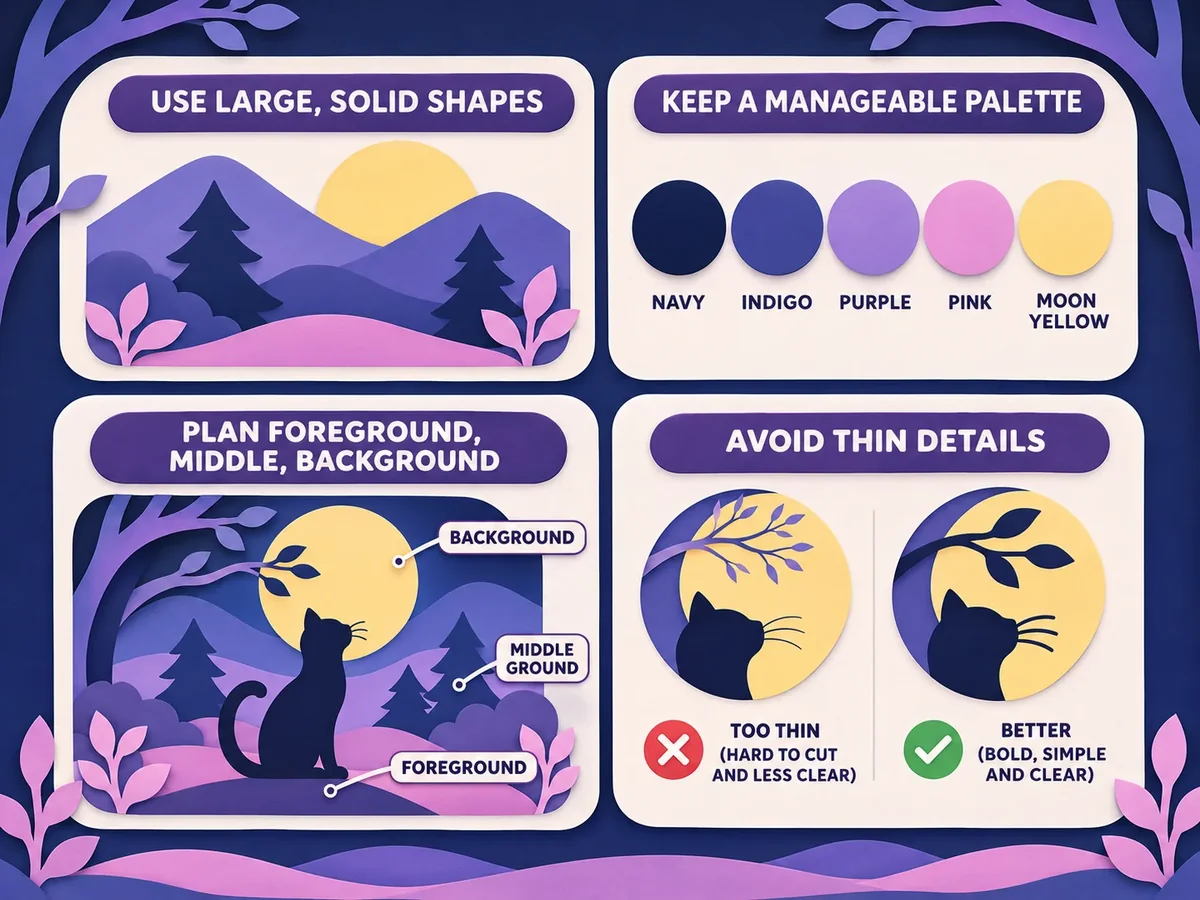
Start with the main silhouette. Replace unnecessary brush textures, micro-highlights, and soft gradients with purposeful areas of color.
Try roughly 5 to 7 solid colors as a starting point. Prioritize contrast between adjacent shapes; the number of colors does not always equal the number of final physical sheets.
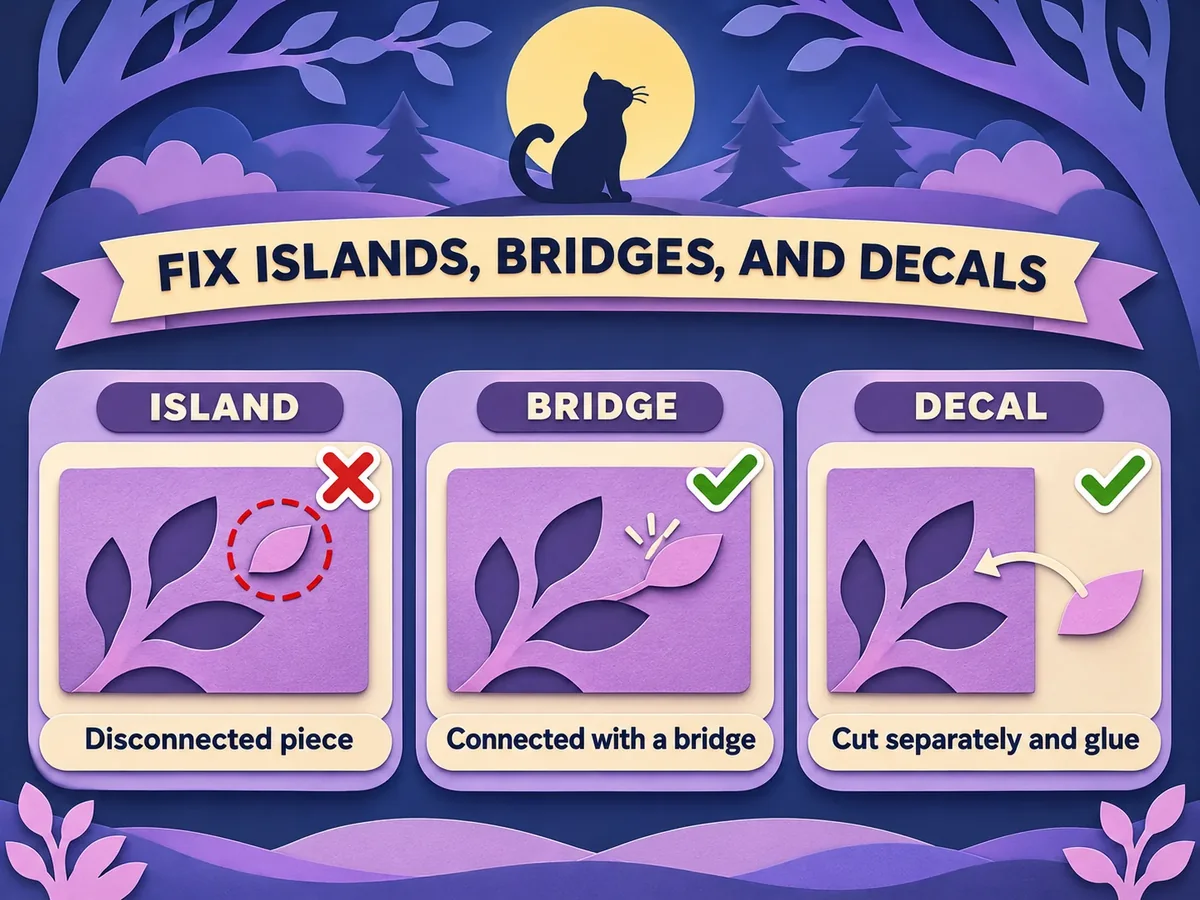
Extremely thin whiskers, narrow stems, tiny stars, or detached accents may need thicker shapes, supporting bridges, or separate decals.
Important distinction: an illustrator’s color layers are not necessarily paper depth layers. Two equally dark objects may belong at different depths, and an image that looks perfect on screen can still require structural repair for cutting.
You do not have to convert every drawing into the same input format. Use the workflow that matches your original artwork.
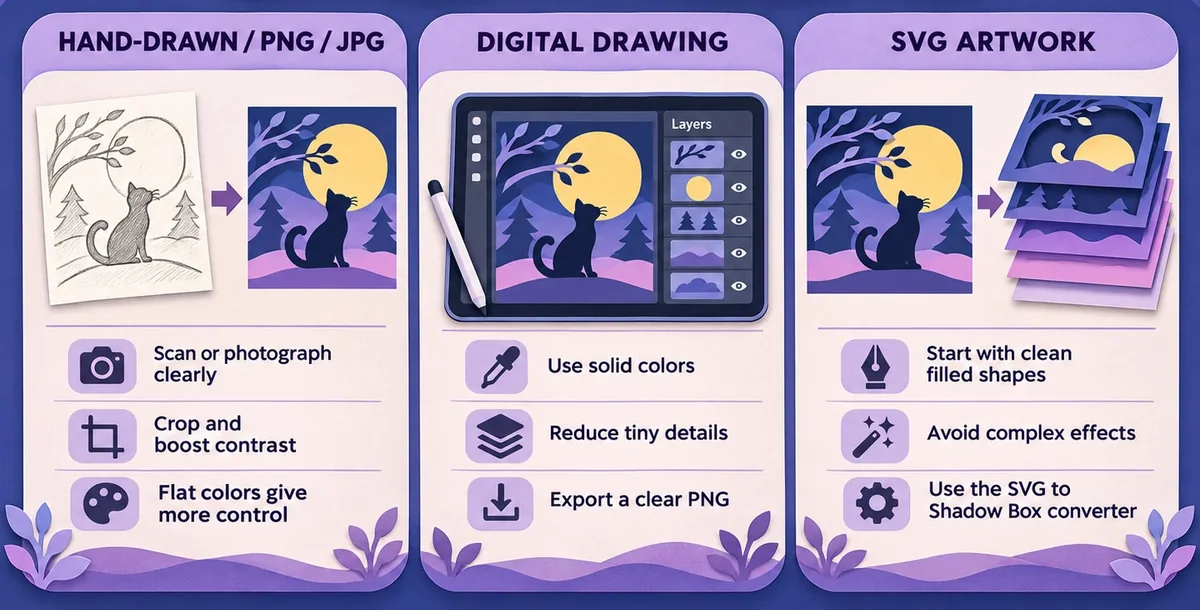
Scan or photograph the drawing straight on in even light, crop distracting surroundings, and keep enough resolution for clear edges. A black and white sketch can be tested as-is; for a colorful layered result, you may get more control by creating a flat color version in a drawing app.
Closed outlines are useful for bucket-fill tools, but they are not a required file property of PNG/JPG conversion. What matters most is the visible structure of the shapes.
Use clear silhouettes, reduce heavy textures and soft shadows, and export a clean PNG. The app’s editing layers do not need to correspond one to one with the physical cardstock sheets.
If you drew in Illustrator, Inkscape, or another vector tool, keep solid-filled shapes where possible and export SVG. A normal SVG may use visual stacking, masks, strokes, or gradients; that does not mean it is already a shadow box cutting template. The conversion tool reconstructs the visible illustration into full sheets with openings. Especially complex effects may need cleanup.
Open Image to Layered SVG, upload the image, and experiment with color count and detail settings. Flat illustrations often work well with color clustering. Preview the result before committing to a download.
Open SVG to Shadow Box. The tool reads the SVG’s color regions, rebuilds them as paper sheets with holes, and can merge similar colors if you choose fewer colors. You do not have to rasterize a suitable SVG first.
Working from separate SVG pieces rather than one drawing? See how to combine separate SVG elements into one shadow box. Using an AI image instead of your own drawing? See how to make an AI image you can cut.
Both routes generate an initial design. Treat it as an editable starting point rather than assuming every line and island will be ready for your cutting machine without inspection.
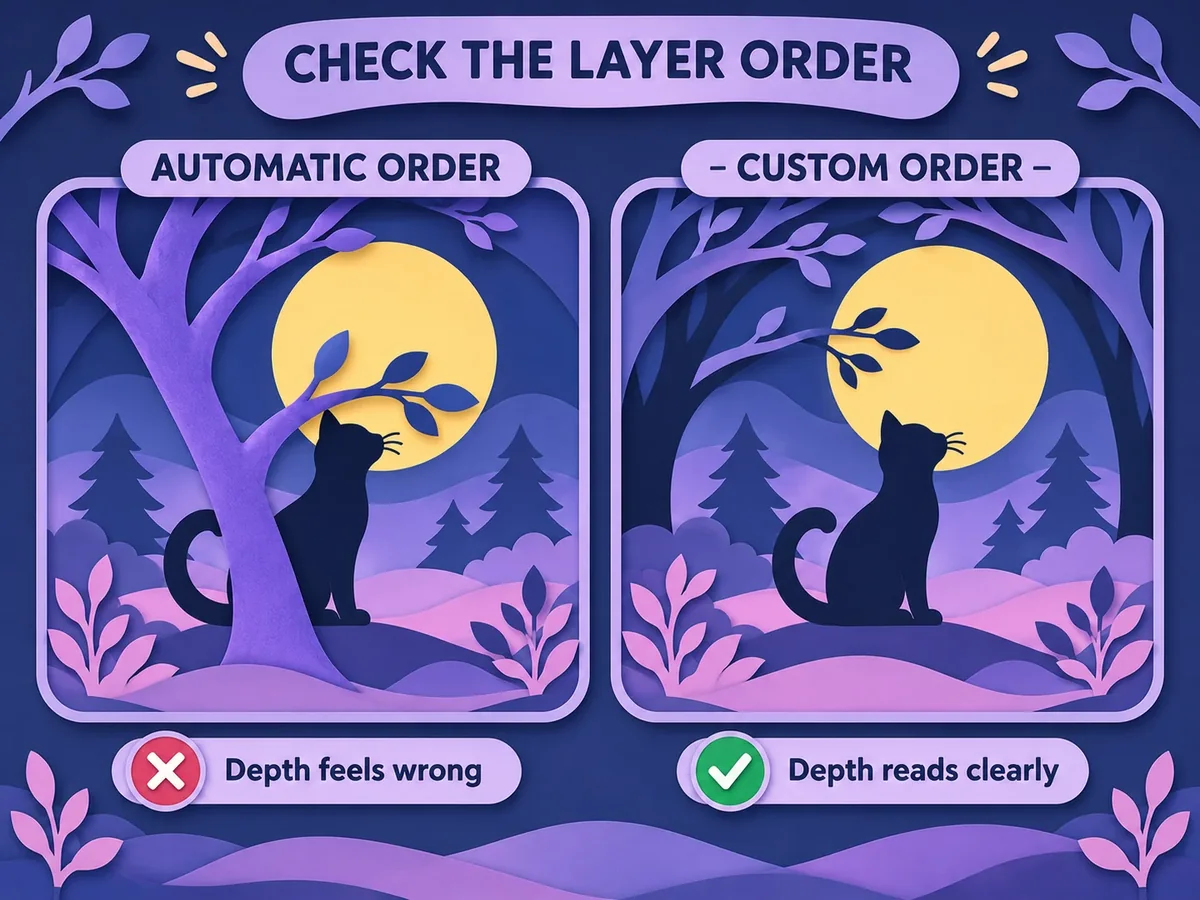
Check whether important objects sit at their intended depth. Automatic color based ordering can differ from your composition: for instance, a dark tree could appear in front of a dark cat when it belongs behind. Use layer ordering controls to correct that relationship.
Setting a custom order is a Pro feature. Free accounts can keep the automatic order and still download; switch back to the automatic order at any time to keep going free.
Then inspect unsupported islands, fragile strips, and details hidden by adjacent layers. A bridge connects an island to the surrounding paper; a decal is a small separately cut piece attached during assembly. Learn more in Islands and Bridges.
Use the 3D preview to check whether the scene still reads at depth (the guide to designing a layered shadow box explains what to look for): is the subject recognizable, are background and foreground distinguishable, and are any parts obscured? Preview lighting and spacing are visual aids; real shadows depend on cardstock, spacers, frame depth, and light direction.
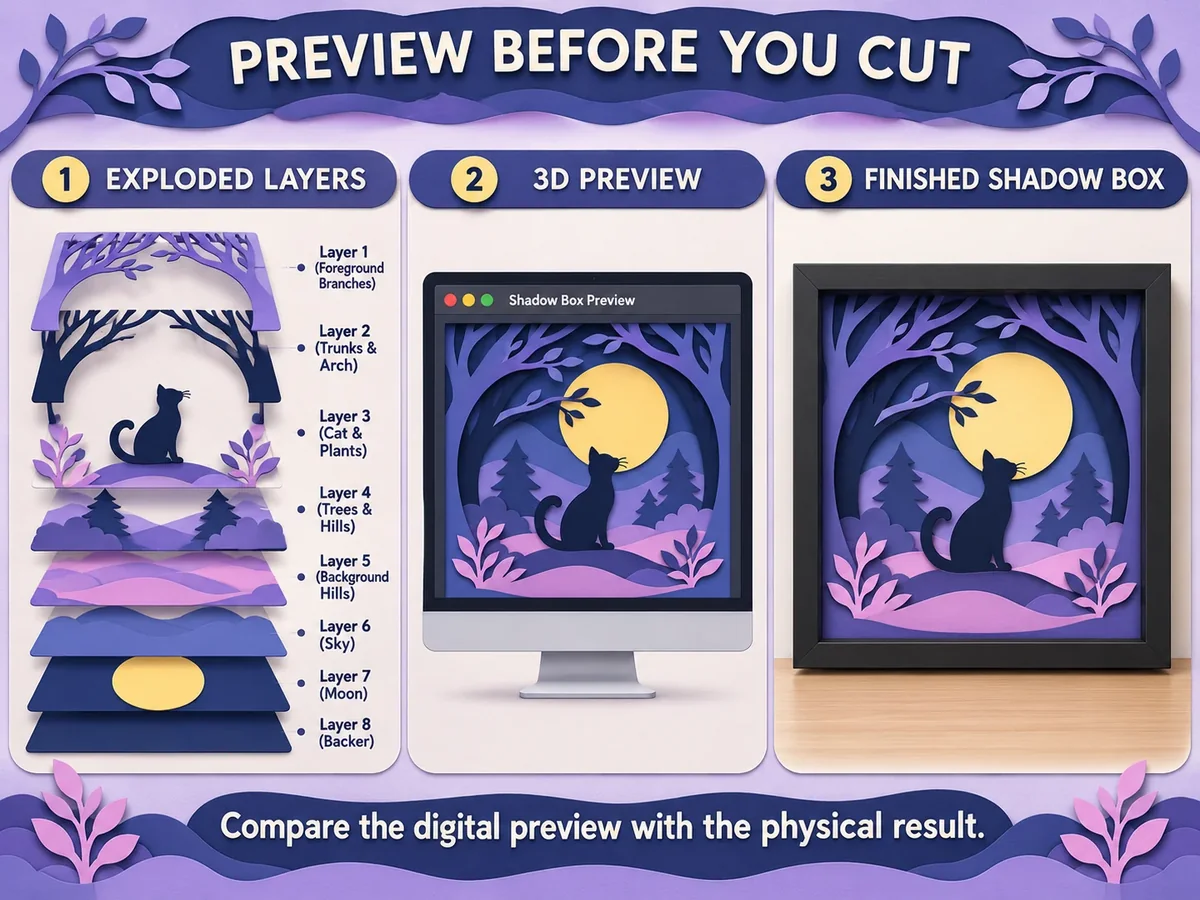
Choose SVG cutting files for compatible cutting software or PNG where appropriate for printing and manual cutting. Confirm the size of your frame and cut one test sheet on the actual paper before producing the complete stack. Cardstock around 80 to 100 lb suits most designs. For materials and assembly considerations, see the Papercut Material Guide.
Yes, you can test a clean scan or photograph. Flat colors and simplified shapes often give you more control over a colorful multilayer result.
No. KerfPress generates the initial sheet structure from your image or suitable SVG. Review and refine the generated sheets before cutting.
No. A standard illustration SVG can be built from overlapping filled objects and effects. Shadow-box cutting sheets require specific openings, supports, and an assembly order.
Start with your artwork, build the layers, then refine the details that make it yours.