How the editor thinks about layers
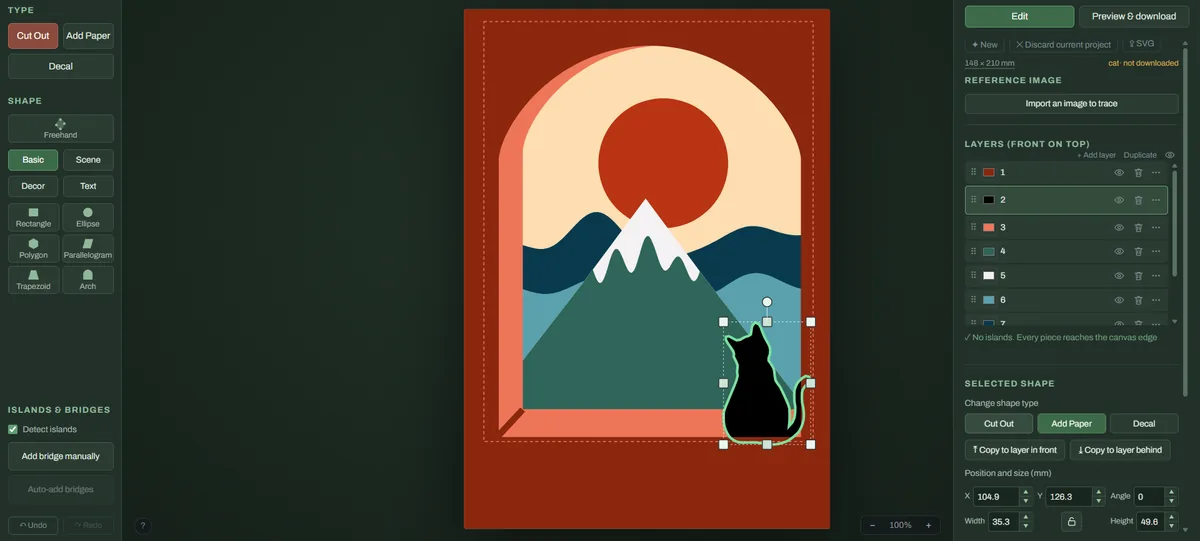
In the editor, each layer is a whole sheet of paper. Every shape you add cuts a hole in that sheet, so the sheets behind show through. The layer list shows front on top. Under Type you choose what a shape does:
- Cut Out makes a hole in the sheet.
- Add Paper adds paper back onto the sheet.
- Decal is a piece cut separately and glued onto the layer surface. It keeps its own color and gets its own outline page.
Keep this in mind while composing: you are not stacking stickers, you are deciding where each sheet has holes.
Prepare your elements
- Make sure every shape is a closed path. Outlines and cut files import fine; open paths are skipped.
- Convert any text to outlines in your design app first. Text that is not converted is skipped on import.
- Decide roughly how many sheets you want, often 5 to 8, and which elements live on which sheet: background, middle and front.
If your elements are already arranged into one flat picture, you can also drop that file into the SVG to shadow box tool and let it build the sheets for you.
Set up the canvas
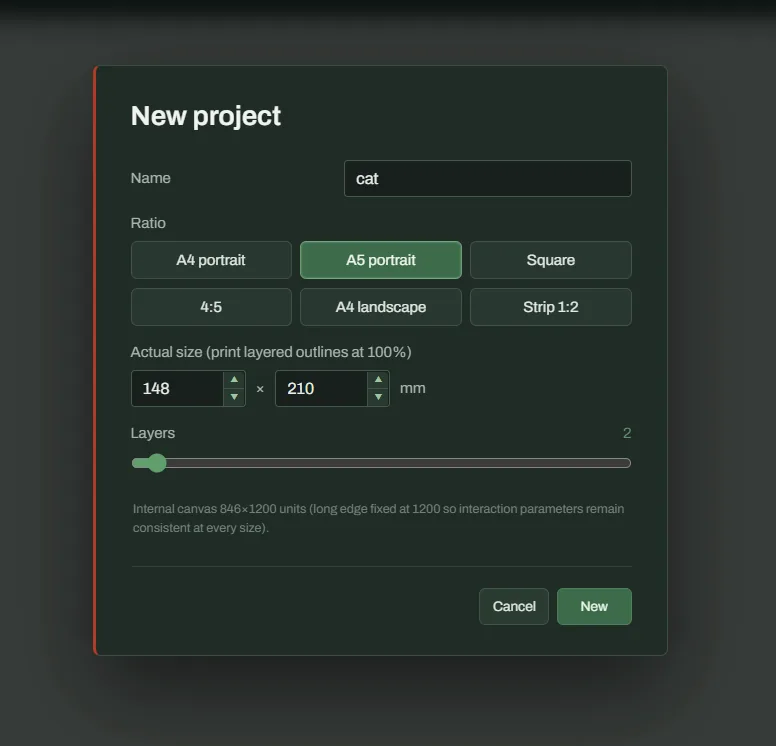
Choose New canvas and give the project a name. New project offers preset sizes: A4 portrait, A5 portrait, Square, 4:5, A4 landscape and Strip 1:2. Pick one or set the actual size in mm to match your frame opening, and pick the number of layers. Want to change the size while you work? Click the image size in the editor and change it any time. You can choose whether the artwork scales with the canvas or keeps its size.
Tip: leave a border of uncut paper around every sheet. The frame grips that border, and it holds the sheet together. More on sizing in how to resize a layered SVG to fit a frame.
Bring in and arrange your elements
- Use Import SVG to upload each element from your computer. Right now uploading an SVG is the way to bring elements into a project.
- Drag to move, use the corner handles to scale and the top handle to rotate (hold Shift to snap to 15°).
- Arrow keys nudge 1 mm, Shift plus arrows nudge 10 mm.
- Ctrl+Up or Ctrl+Down copies a shape to the layer in front or behind, handy for building a shape across several sheets.
- Ctrl+D duplicates in place, Ctrl+Z undoes.
- Add layer and Duplicate sit above the layer list.
Want to trace something instead? Import an image as a Reference image and lower its opacity, then draw over it.
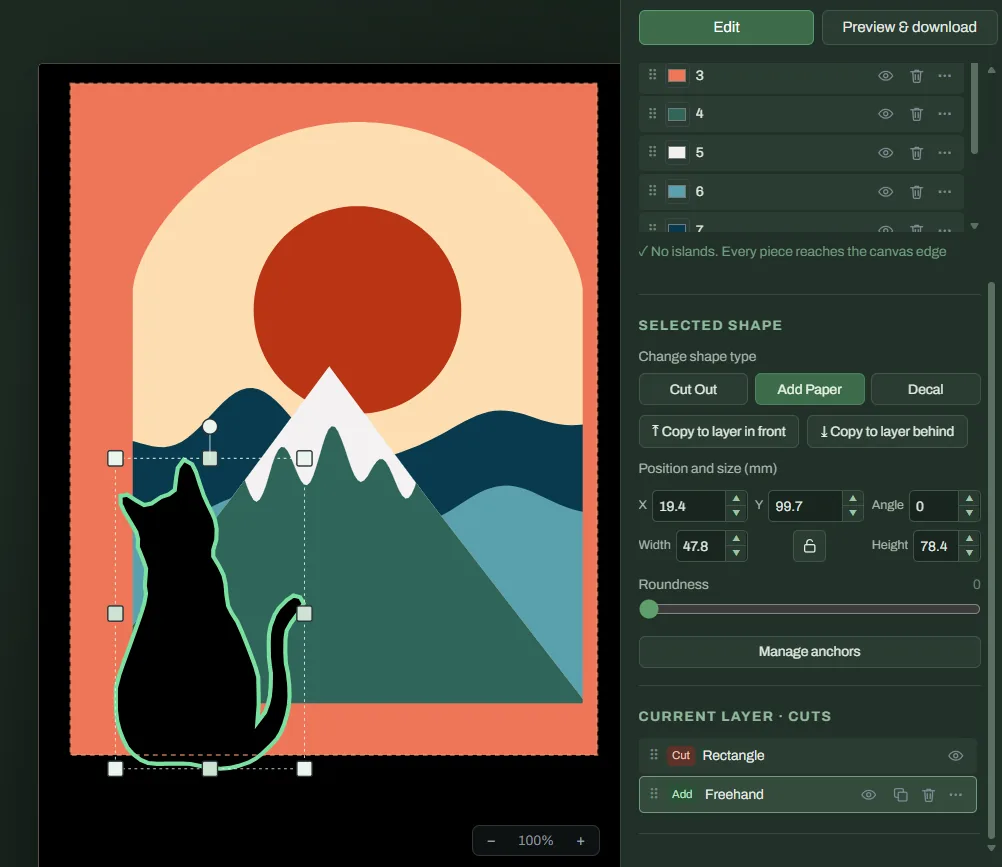
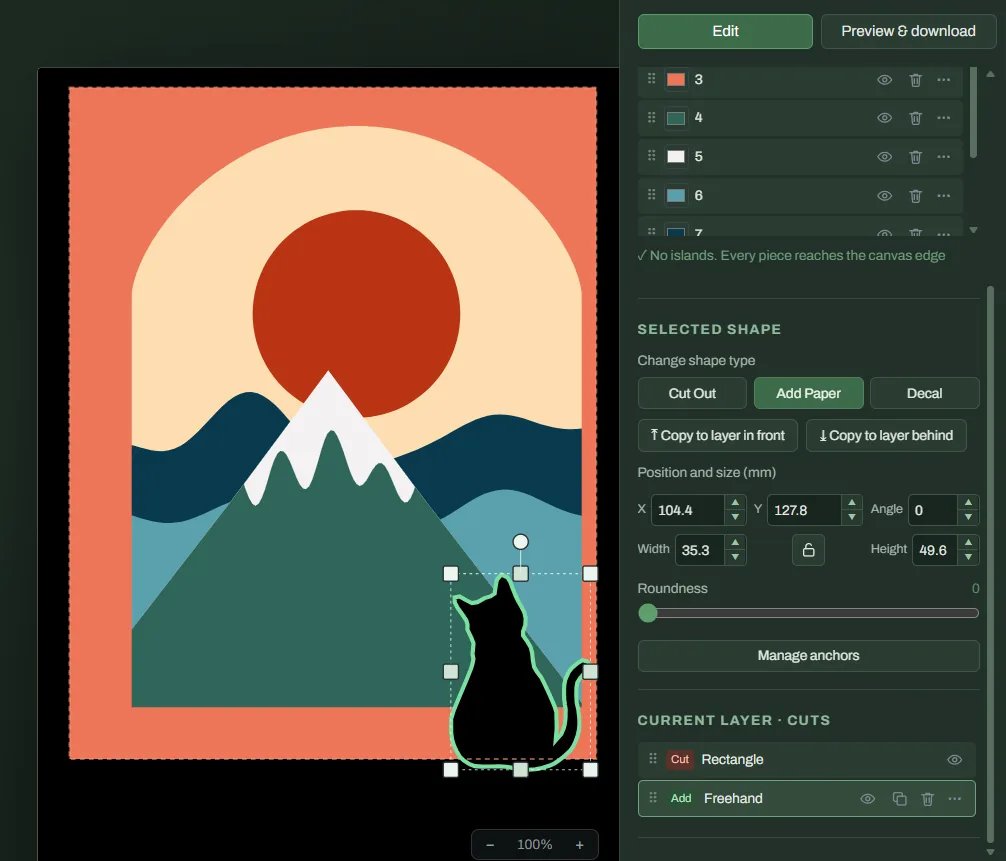
Below, a single standalone cat element is dragged into place, then shrunk with a corner handle.
Build depth from back to front
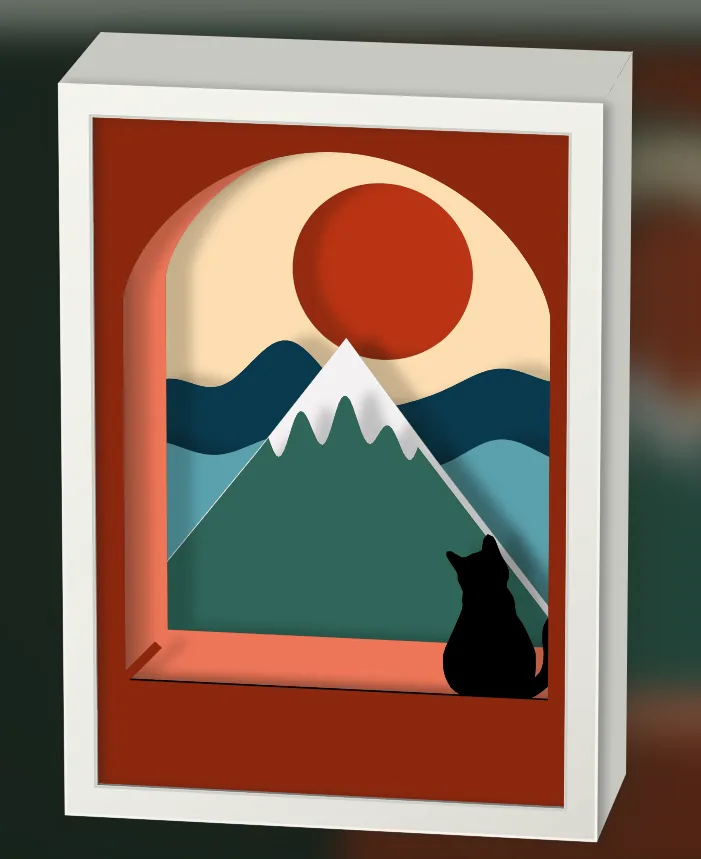
Put the big quiet shapes at the back: sky, moon, distant hills. Put the subject toward the front, and use the middle sheets for trees, buildings or clouds that overlap. Overlap is what makes it read as depth, so let elements cross each other slightly instead of sitting side by side.
For the reasoning behind this, see the guide to designing a layered shadow box. To move a whole sheet forward or back, see how to change the layer order.
Fix islands with bridges
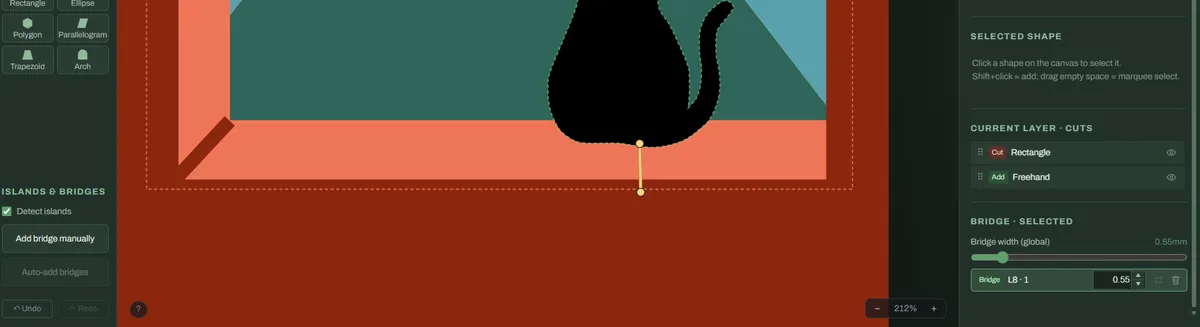
When you cut a shape out of the middle of a sheet, the part inside it can end up floating, like the center of an O. Open Islands & bridges in the left panel:
- Detect islands shows what will fall out.
- Auto-add bridges connects islands on the current layer.
- Add bridge manually lets you pick both ends yourself.
- Connect all, above the layer list, fixes every layer at once.
Or turn a loose piece into a Decal and glue it on later. Bridge width is set globally, 0.80 mm by default. The full explanation is in islands and bridges in a layered SVG.
Preview and download
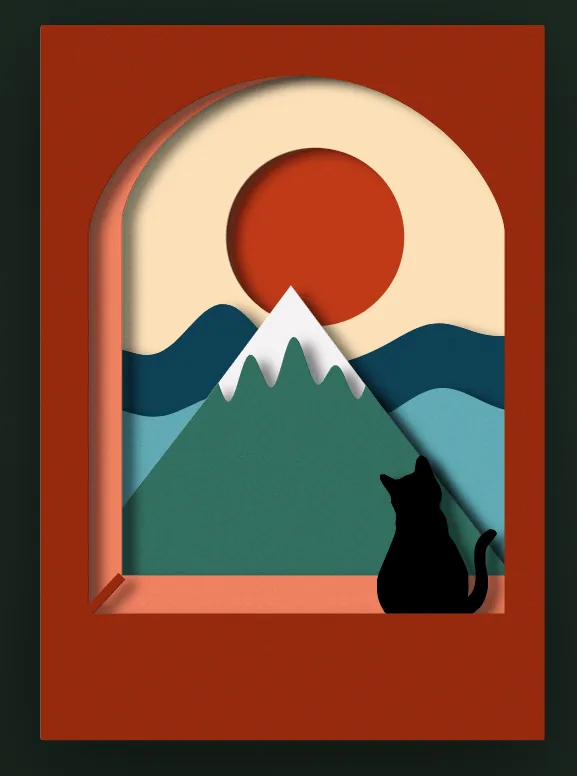
Open View in 3D. You can change the light angle, shadow softness, layer gap and paper thickness to see how it will look in a real frame, and preview the piece with bridges hidden. When it looks right, download SVG.zip for a cutting machine or PNG.zip to print and cut by hand.
Tip: keep the downloaded multilayer.svg. Importing it later reopens your project for more edits.
Starting from a single picture instead of separate pieces? See how to turn your own drawing into a layered paper shadow box or the full shadow box walkthrough.